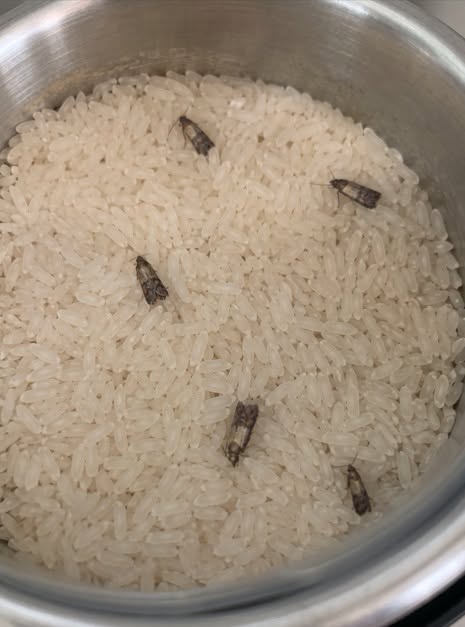
Step 1: Empty the Pantry
This is the part nobody wants to hear.
But if you’re serious about getting rid of pantry moths, empty the affected cupboard or pantry completely.
Take everything out.
Don’t just move a few boxes around and wipe the visible shelves. You need to be able to inspect the entire area.
Put food on a table or counter where you can examine it properly.
And if you find evidence of an infestation, don’t move questionable food into another cupboard.
That’s just relocating the problem.
Step 2: Inspect Every Dry Food Package
Now comes the detective work.
Look carefully at every package.
Check for:
Webbing
Tiny larvae
Cocoons
Clumped food
Unusual residue
Holes or damage
Moths inside packaging
Food that looks suspicious in any way
Pay particular attention to packages that have been sitting untouched for a long time.
Don’t assume an unopened cardboard box is automatically safe.
Pantry moth larvae can sometimes chew through thin packaging, while eggs or larvae may already have been present before you brought the food home.
Step 3: Throw Away Infested Food
If you find clear evidence of pantry moth activity, the safest and simplest solution is usually to discard the affected food.
Put it directly into a trash bag.
Seal the bag well and take it outside rather than leaving an open bag of infested food sitting in the kitchen.
And here’s an important mindset shift:
The cost of replacing a bag of flour is much smaller than the cost of letting an infestation spread through your entire pantry.
When in doubt about a dry food with obvious signs of infestation, I would rather lose the package than keep the moth cycle going.
Step 4: Vacuum Every Crack and Corner
This step is easy to skip.
Don’t.
Pantry moth larvae may leave the food source and travel elsewhere to pupate. That means the shelves themselves—and especially the cracks and corners—deserve serious attention.
Use your vacuum’s crevice attachment around:
Shelf edges
Corner seams
Screw holes
Brackets
Cabinet joints
Cracks
Behind shelves
Under liners
Along the floor of the pantry
Take your time.
You’re not just cleaning crumbs. You’re trying to physically remove anything hiding there.
Once you’re finished, empty the vacuum according to the manufacturer’s instructions and dispose of the collected debris appropriately.
Step 5: Wash the Shelves
After vacuuming, wipe the entire pantry with warm, soapy water.
Pay attention to the little places that are easy to ignore.
see continuation on next page